A coffee station should make the morning easier without taking over the place where you chop vegetables. In a small kitchen, the most useful setup often starts with the machine you already own and a little rearranging of the storage around it.
Decide how you actually make coffee before choosing a cart, tray, or matching jars. An espresso machine, drip brewer, and pour-over kit have different space needs. These seven arrangements give you options for keeping the daily routine together while preserving room to cook.
First, measure the machine while you are using it
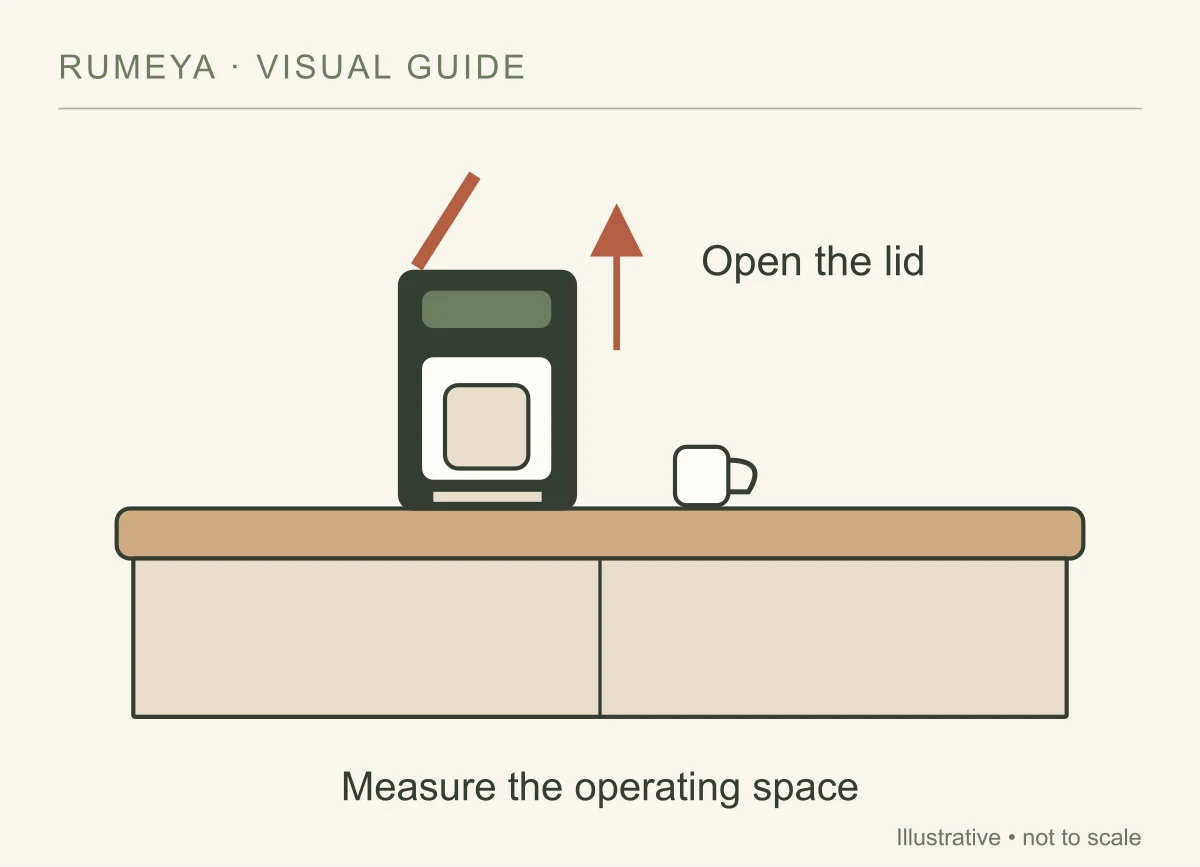
The closed footprint is only part of the space a brewer needs. Open the lid, remove the water tank, slide out the drip tray, and put your usual mug in place. Note which movements require extra room above, behind, or beside it.
- Measure the machine’s width and depth, including projecting handles.
- Check overhead space with the lid open and any tank removed.
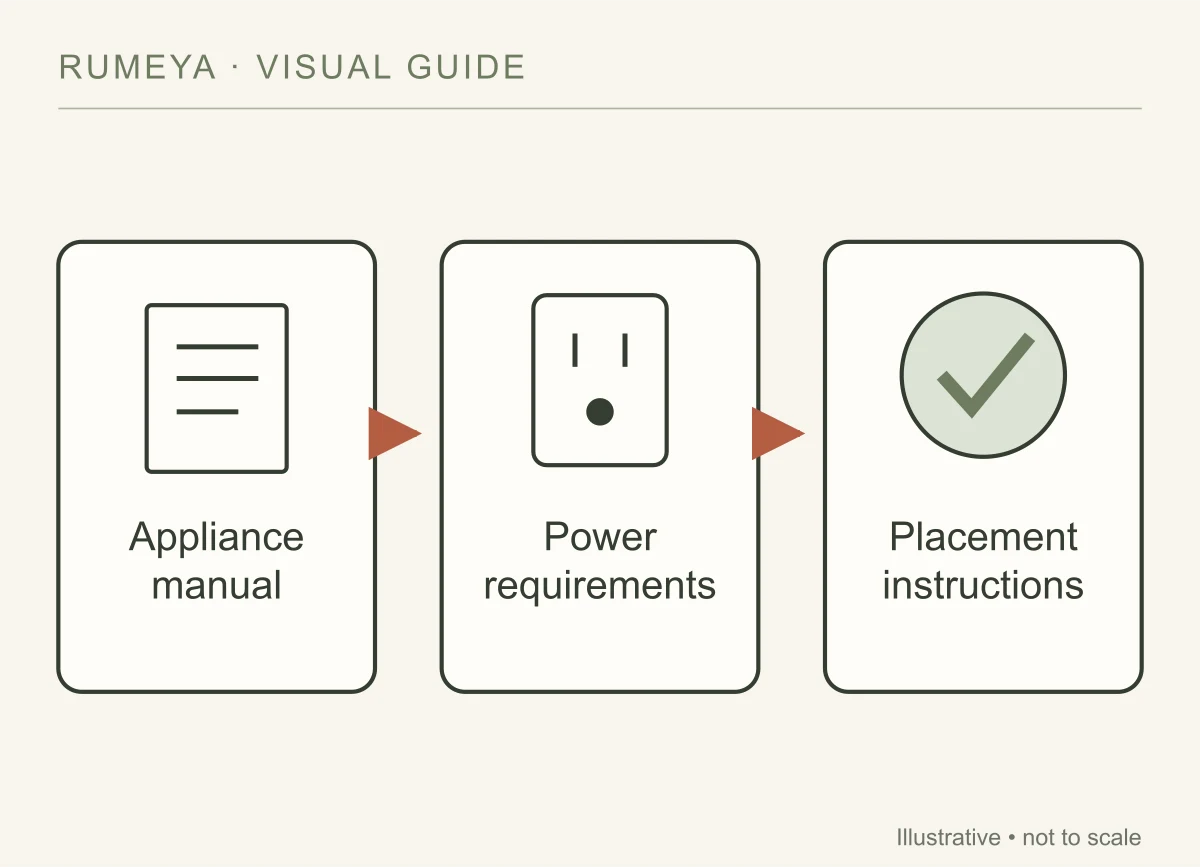
- Read the manufacturer’s placement, ventilation, and electrical instructions.
- Find a suitable outlet without routing a cord across the sink, cooktop, or walkway.
- Leave a usable spot for filling, setting down a mug, and wiping up spills.
For example, a hypothetical 9-inch-wide machine on a 12-inch-wide shelf leaves just 3 inches across the two sides. That does not tell you whether you can remove a side-mounted tank or operate the controls. Test the whole routine, not just the outline.
1. Keep a compact counter zone beside the supplies
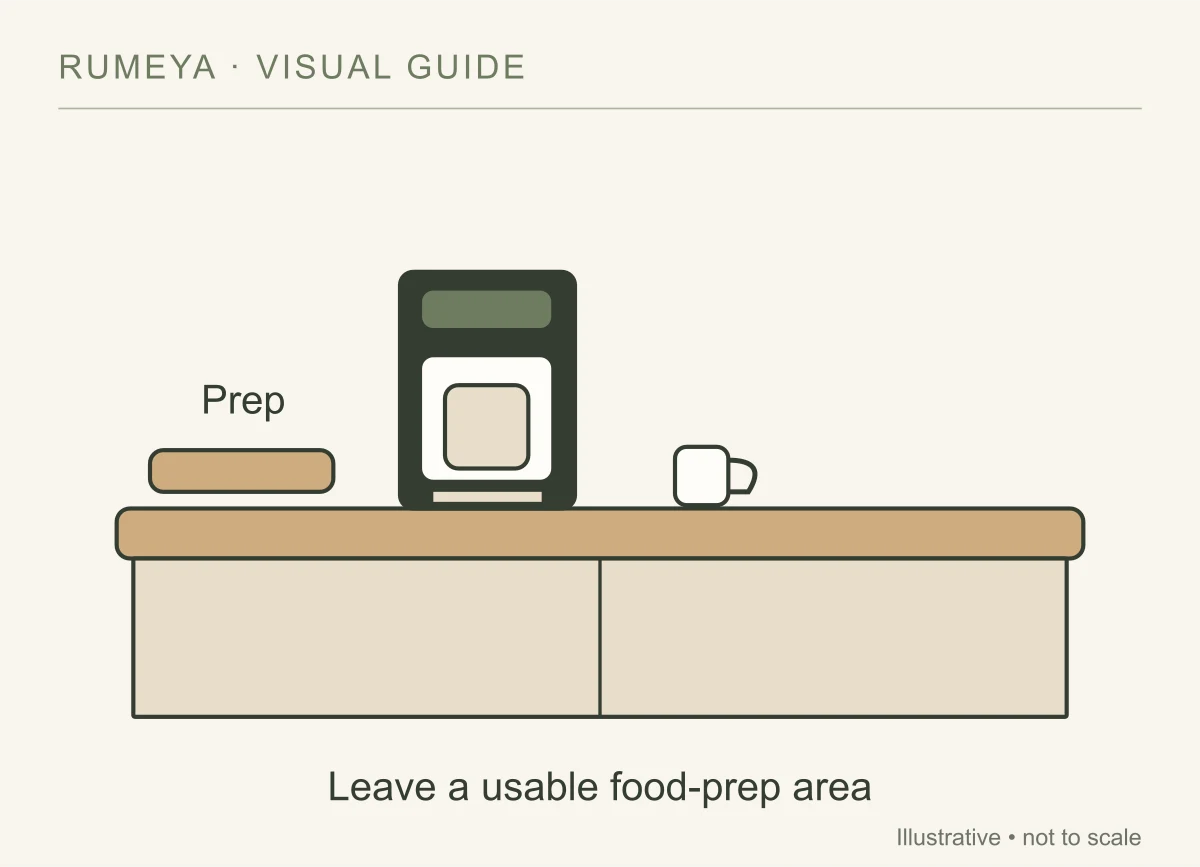
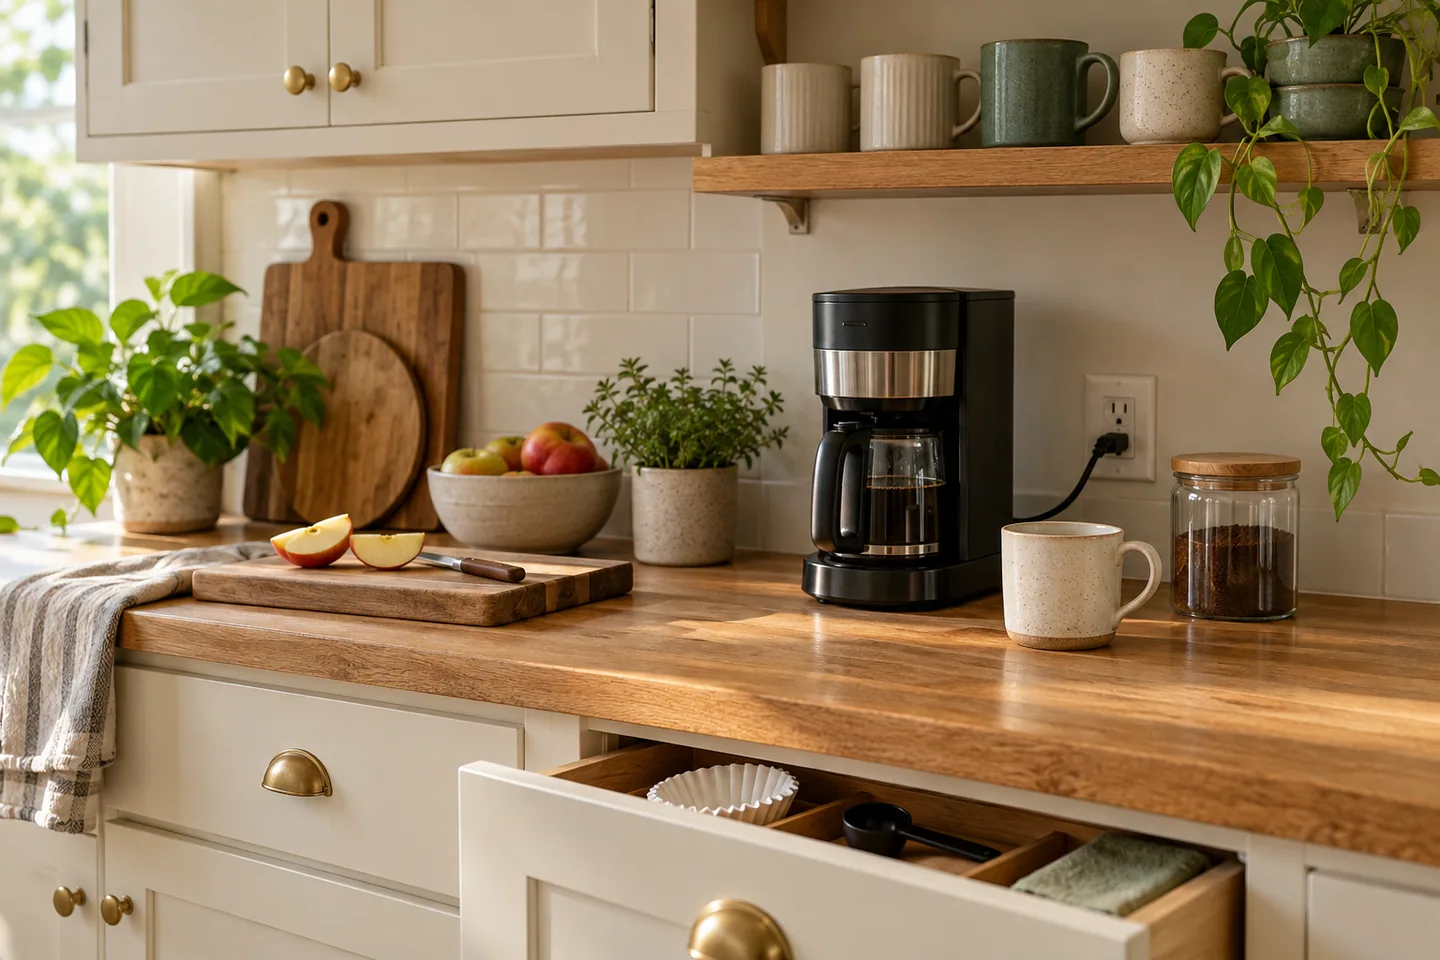
Choose a counter section near the cabinet or drawer that can hold your everyday coffee items. Put the machine there and keep only the next step of the process beside it: perhaps a mug and filters, rather than the full supply of beans, pods, and sweeteners.
A tray can group small items, but it is optional. Check that its rim does not interfere with the machine or make spills harder to clean. If the tray takes up more space than the items it contains, leave it out.
2. Put everyday mugs in the cabinet above
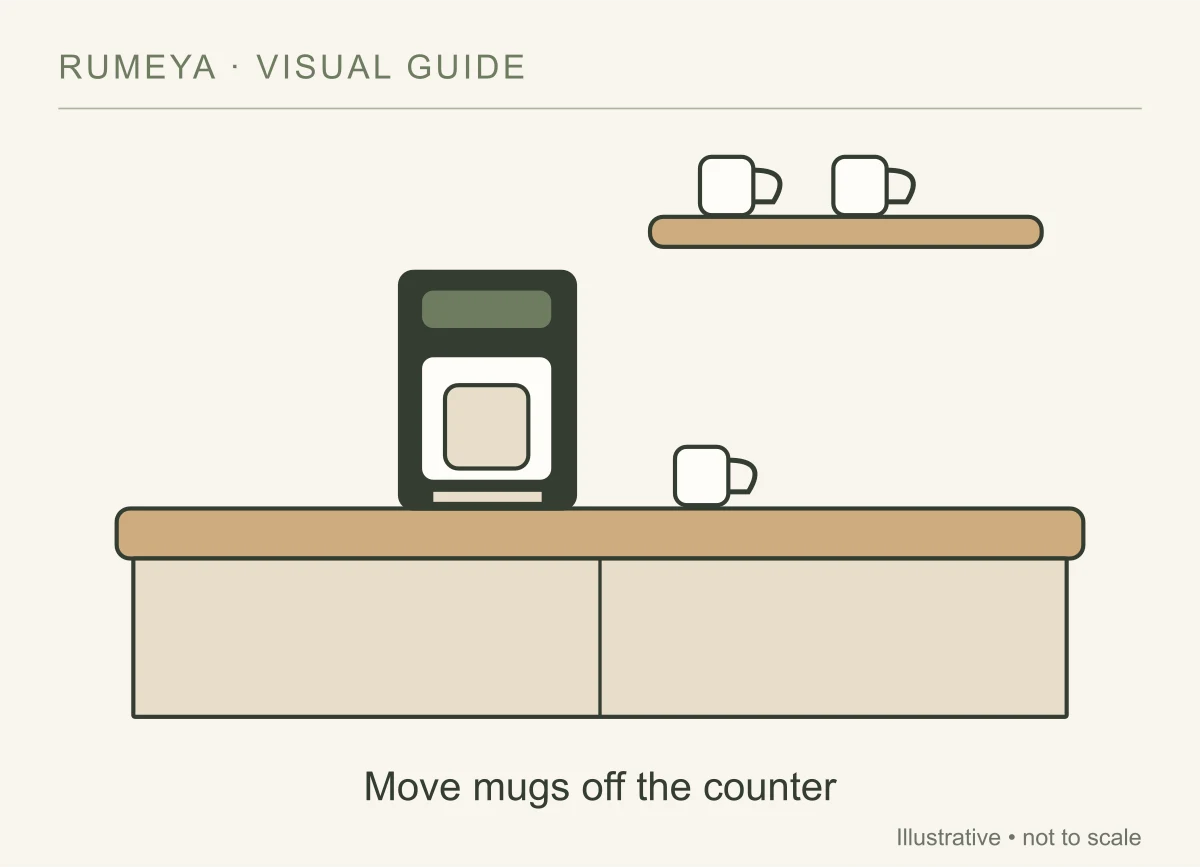
Use the nearby cabinet for the mugs you reach for most often, while keeping the counter available for brewing. Move occasional-use cups to another shelf so you are not searching through a whole collection each morning.
Check the machine’s operating clearance below the cabinet. Steam and an opening lid can make a position unsuitable even when the appliance fits while closed. Follow the exact model’s instructions rather than relying on a universal gap.
3. Make the drawer below a coffee-supply drawer
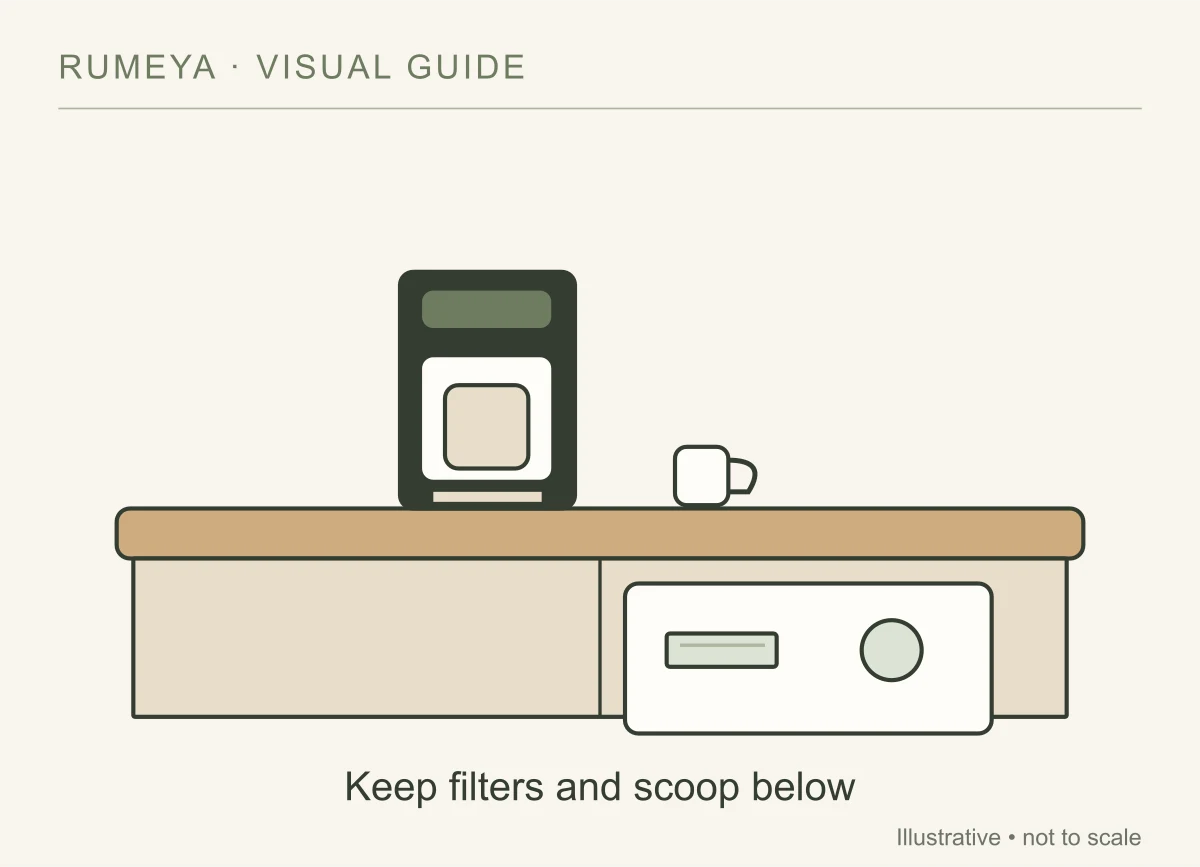
If the machine sits above a drawer, use part of that drawer for filters, a scoop, stirrers, or other small supplies. An existing divider may be enough; there is no need to buy a fitted insert until you know which items will stay there.
Arrange frequently used items near the front and reserve deeper space for refills. Keep loose pieces from catching in the drawer, and check that anything you store there belongs in a dry storage area.
4. Use a narrow cart when counter space is truly limited
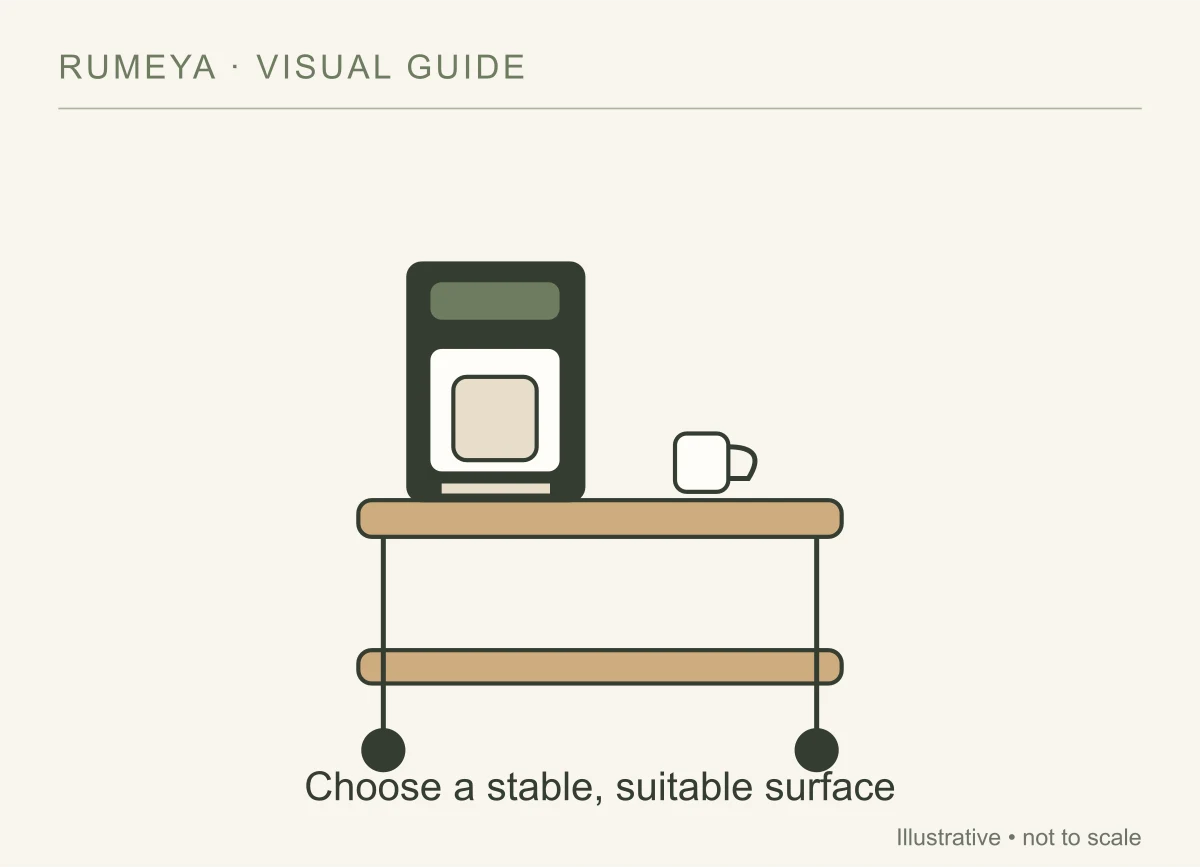
A cart may work if there is a suitable location outside the main kitchen traffic route. Check that its top can safely support the appliance and tolerate the conditions described by the appliance and cart manufacturers. Measure depth as carefully as width.
The cart needs a stable operating position and appropriate access to power. Do not plan to wheel a plugged-in brewer across the room. If you cannot keep the cord clear or the machine steady, use the cart for mugs and supplies while leaving the brewer on a suitable fixed counter.
5. Split brewing from bulk storage
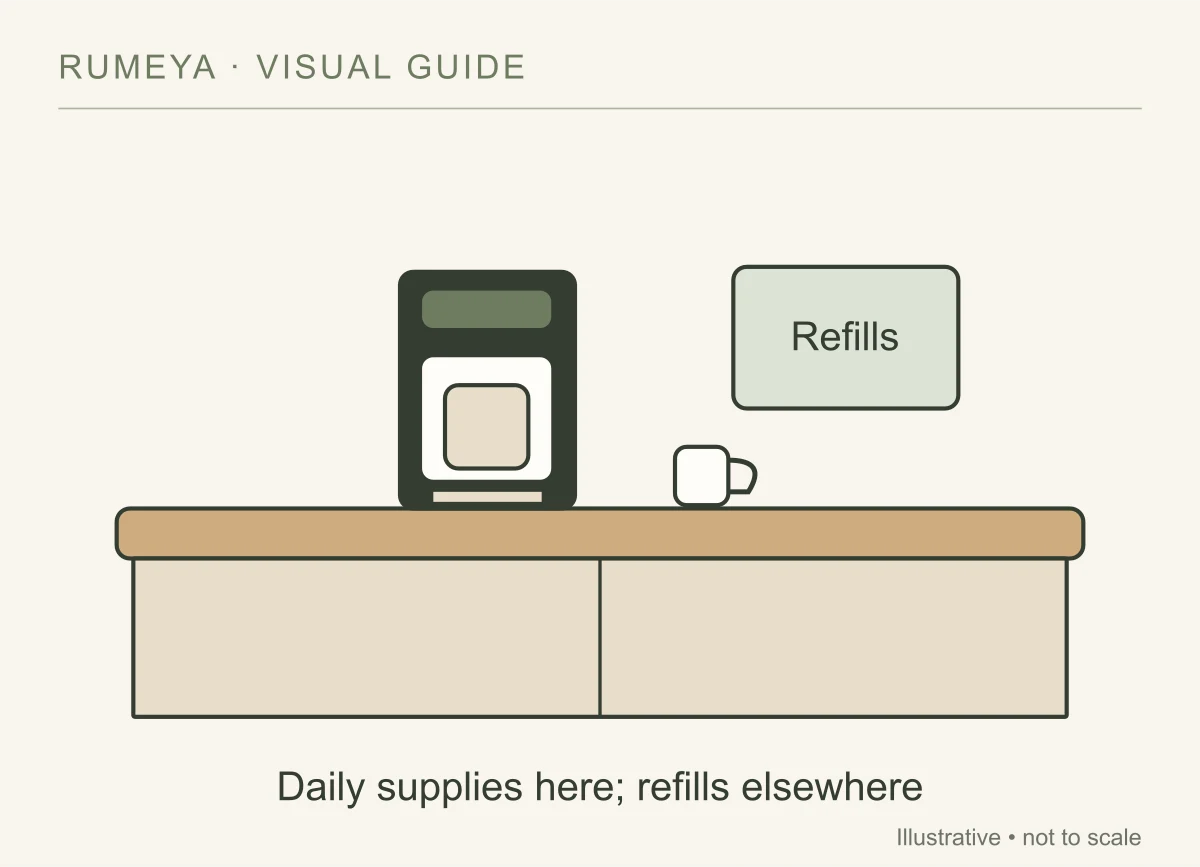
The complete coffee collection does not have to live together. Keep the machine and a small amount of daily supplies in the kitchen; store unopened refills and rarely used serving pieces in another suitable cupboard.
This is often the simplest solution when a coffee corner keeps spreading. Give refills one designated place and check it before shopping. Follow the product’s storage directions, especially for ingredients that need refrigeration after opening.
6. Adapt an existing open counter or cabinet surface
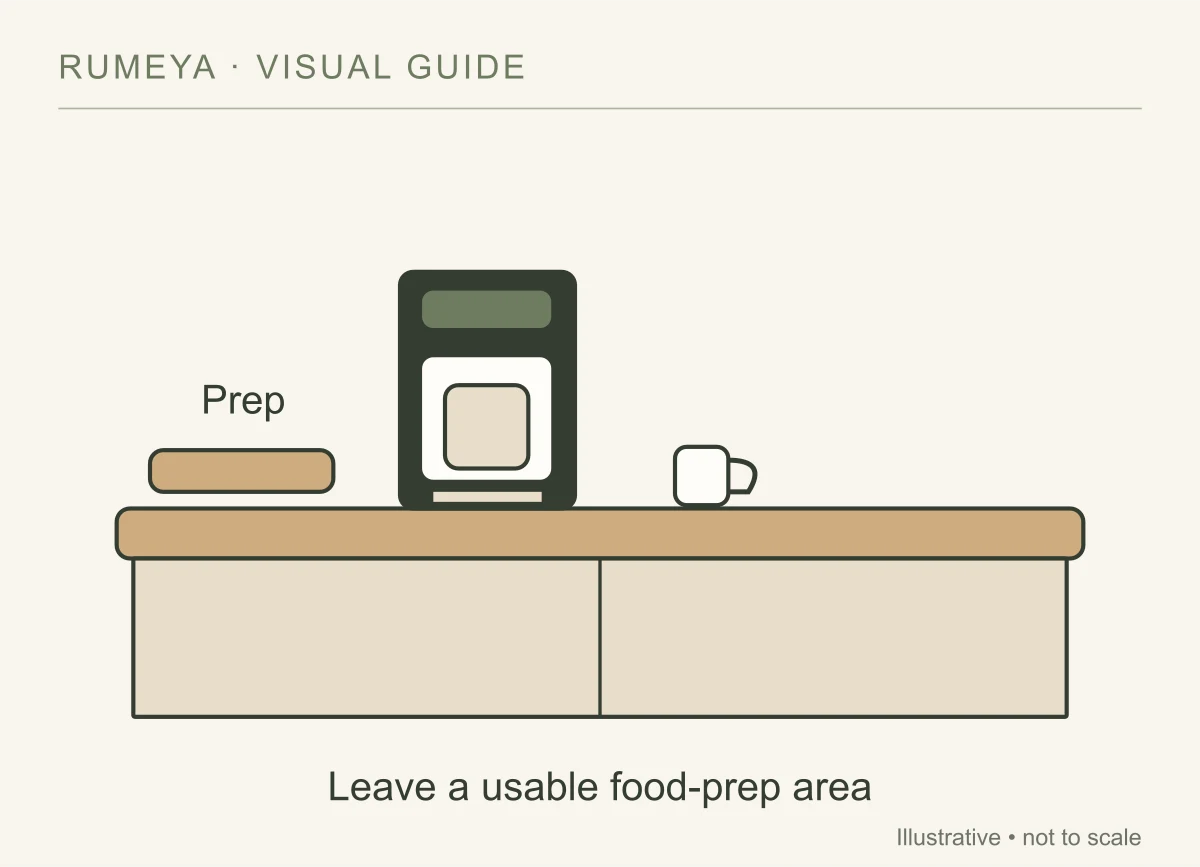
A nearby open countertop or appropriately designed freestanding cabinet can become a coffee area if its surface, stability, location, and access to power suit the appliance. Test the routine there before buying dedicated coffee furniture.
Do not assume an enclosed cabinet is suitable for operating a hot appliance. Heat, steam, access to controls, and ventilation all need to match the manufacturer’s instructions. A closed cupboard may be useful for storing an unplugged, cooled appliance even when it is unsuitable for brewing.
7. Make a put-away kit for occasional coffee
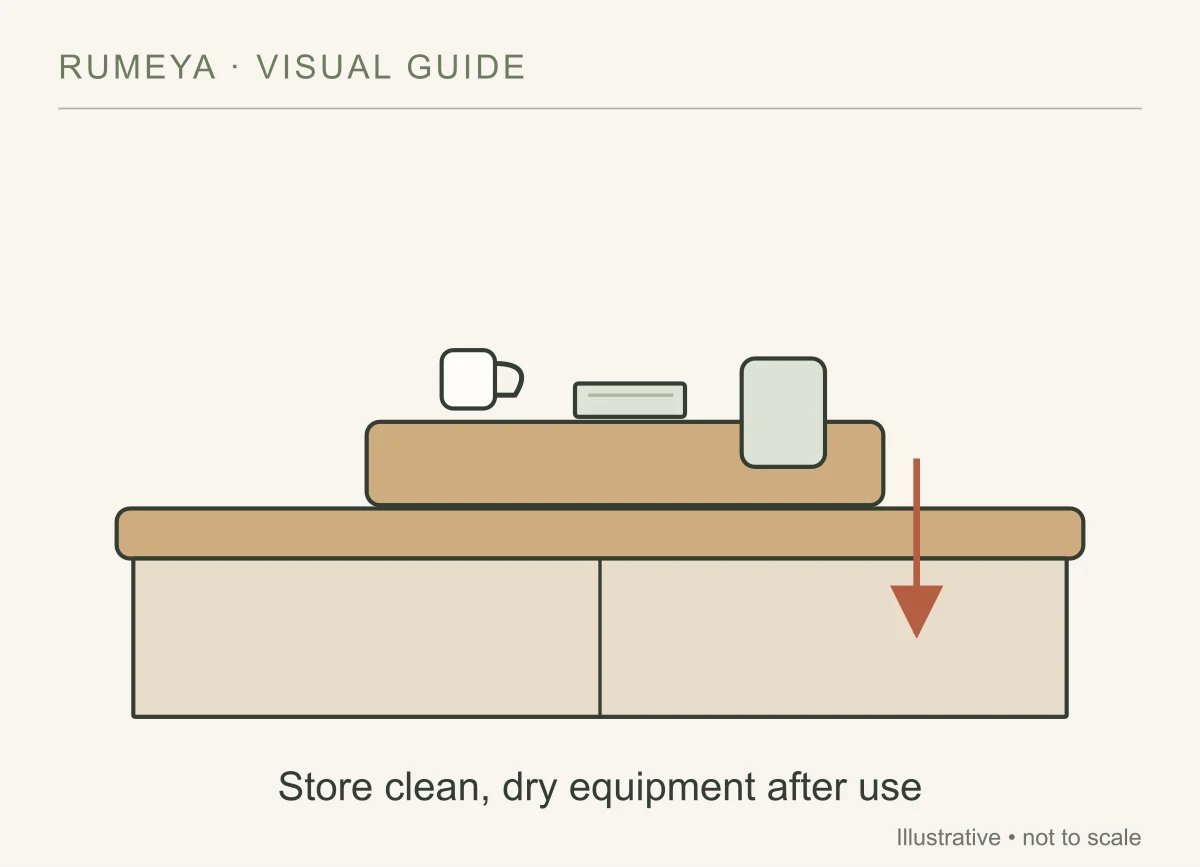
If you brew only occasionally or use a manual method, collect the dry, cooled equipment in a bin or tray you can store after use. Bring out the pieces you need, use them on an appropriate surface, and put them away once clean and dry.
Keep a kettle on a suitable operating surface with the clearances and power connection its instructions require. The storage bin is for putting equipment away, not a substitute for a safe brewing setup. This arrangement can leave much more counter space available between uses.
Pick a setup that fits your routine
| Your routine | Start with | Space to protect |
|---|---|---|
| Coffee every morning | Permanent counter zone with nearby supplies | Machine operation and food prep |
| Many mugs, little counter space | Cabinet storage above or beside the brewer | Lid and steam clearance |
| No suitable extra counter | A properly rated cart or existing surface | Stable position, power, and walkway |
| Occasional manual brewing | Put-away equipment kit | Temporary brewing and cleanup space |
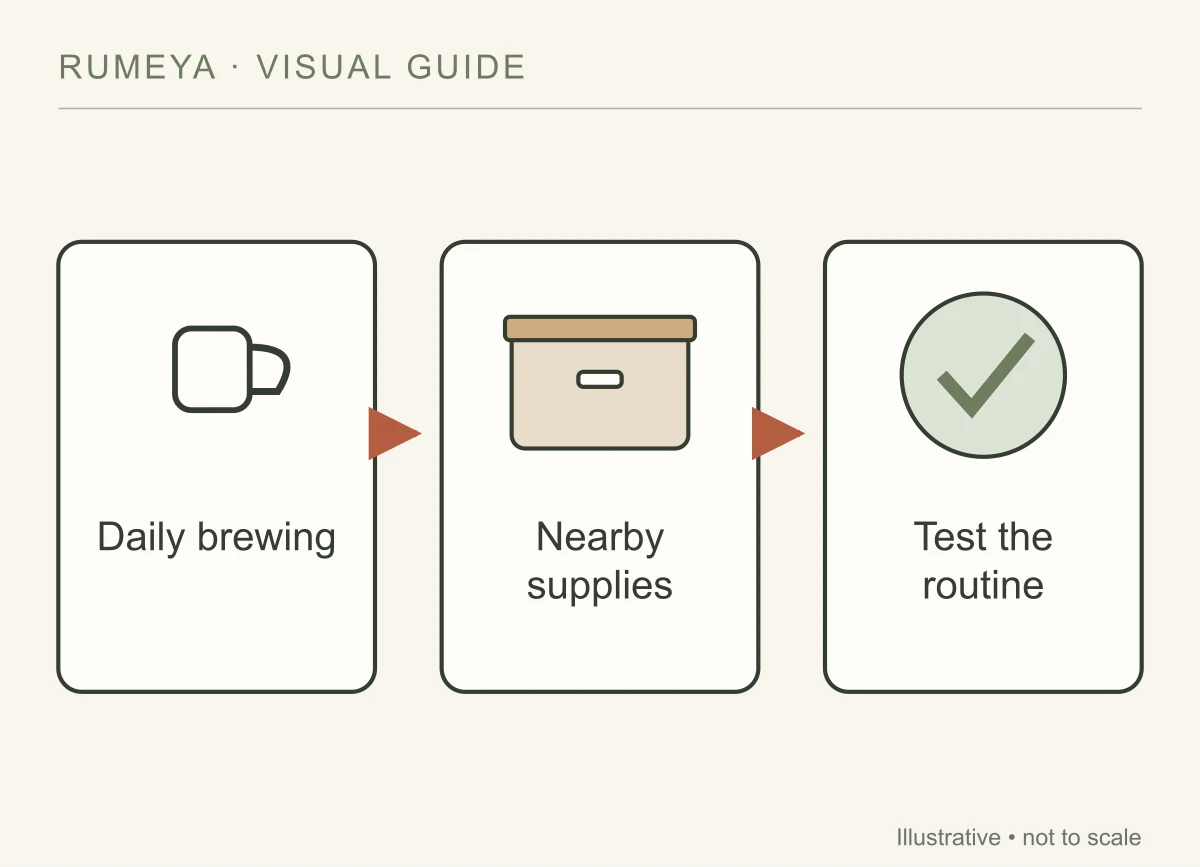
Take the setup through one normal morning before styling it. Fill the tank, get a mug, make coffee, empty what needs emptying, and wipe the surface. The steps that feel awkward tell you more than a picture of the finished corner.
Keep the electrical setup simple
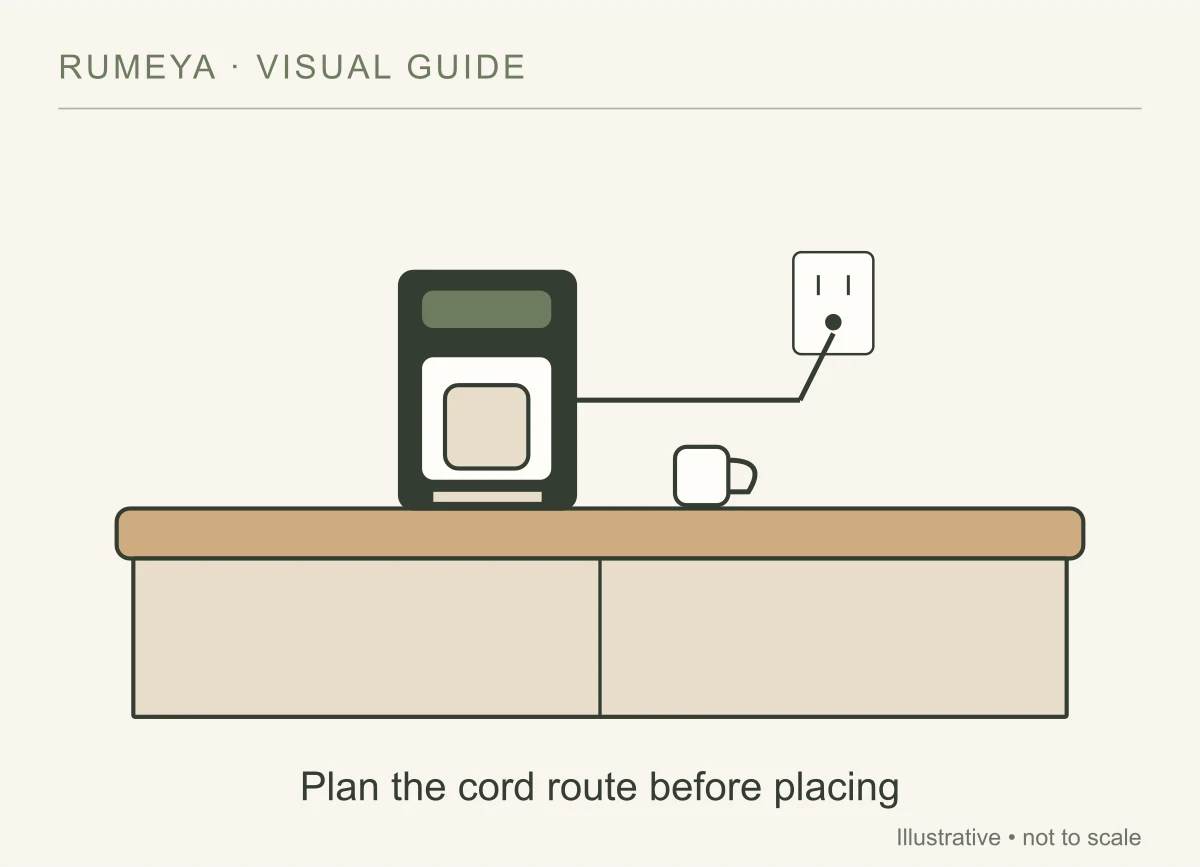
Use the instructions for your particular appliance. For example, Keurig’s K600 use and care guide addresses cord placement and conditions for using an extension cord. Requirements differ between products, so do not assume a power strip or extension is suitable just because the plug fits.
Keep the cord away from hot surfaces and places where it could be caught or pulled. Choose another location if the available outlet forces an awkward route. Store cleaning supplies separately from coffee ingredients and follow the brewer’s cleaning instructions.
Finish with the items you actually use
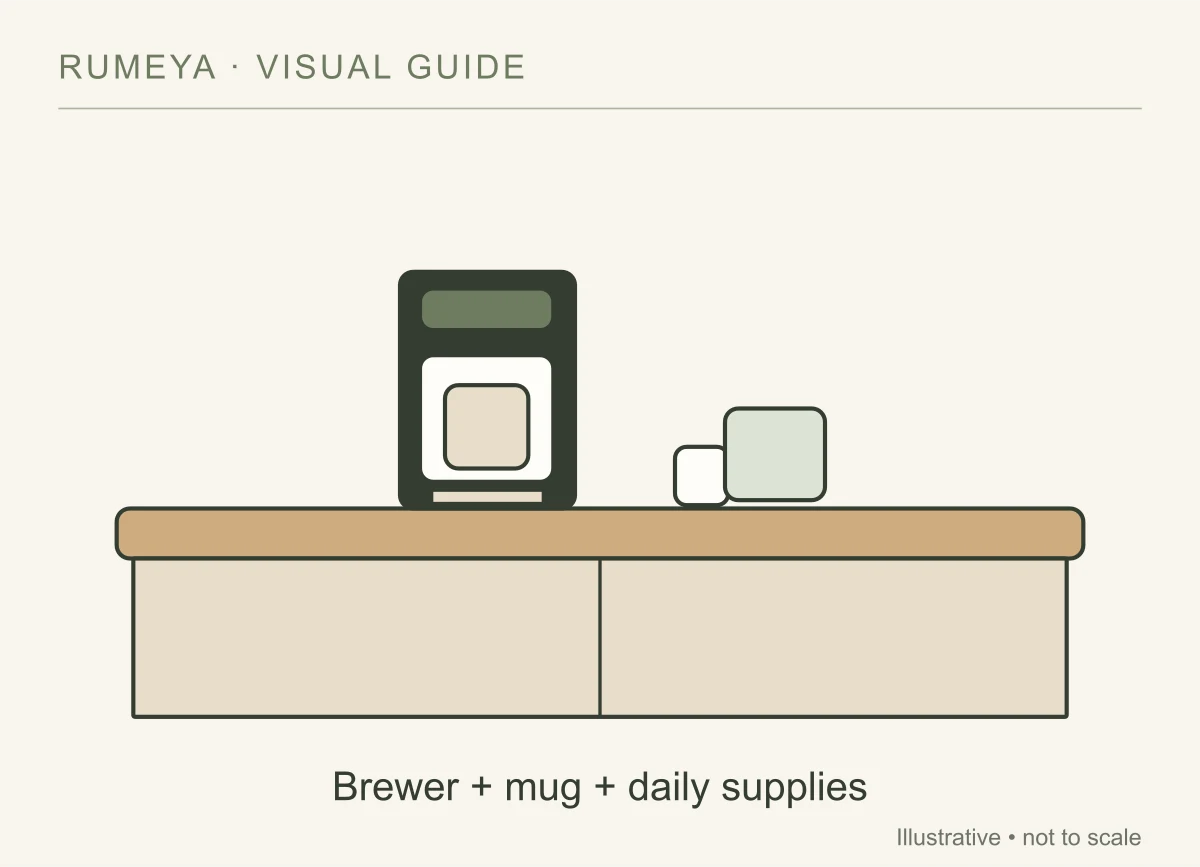
One or two favorite mugs, a useful container, and a clean counter can be enough. Skip the decorative sign if it takes the space where you need to set down a full cup. Keep any decorative items far enough from the brewing area that you can wipe spills without moving a display.
After a week, remove anything you have not used and notice what you keep fetching from elsewhere. That is a better basis for the next small adjustment than adding more organizers.
Common questions
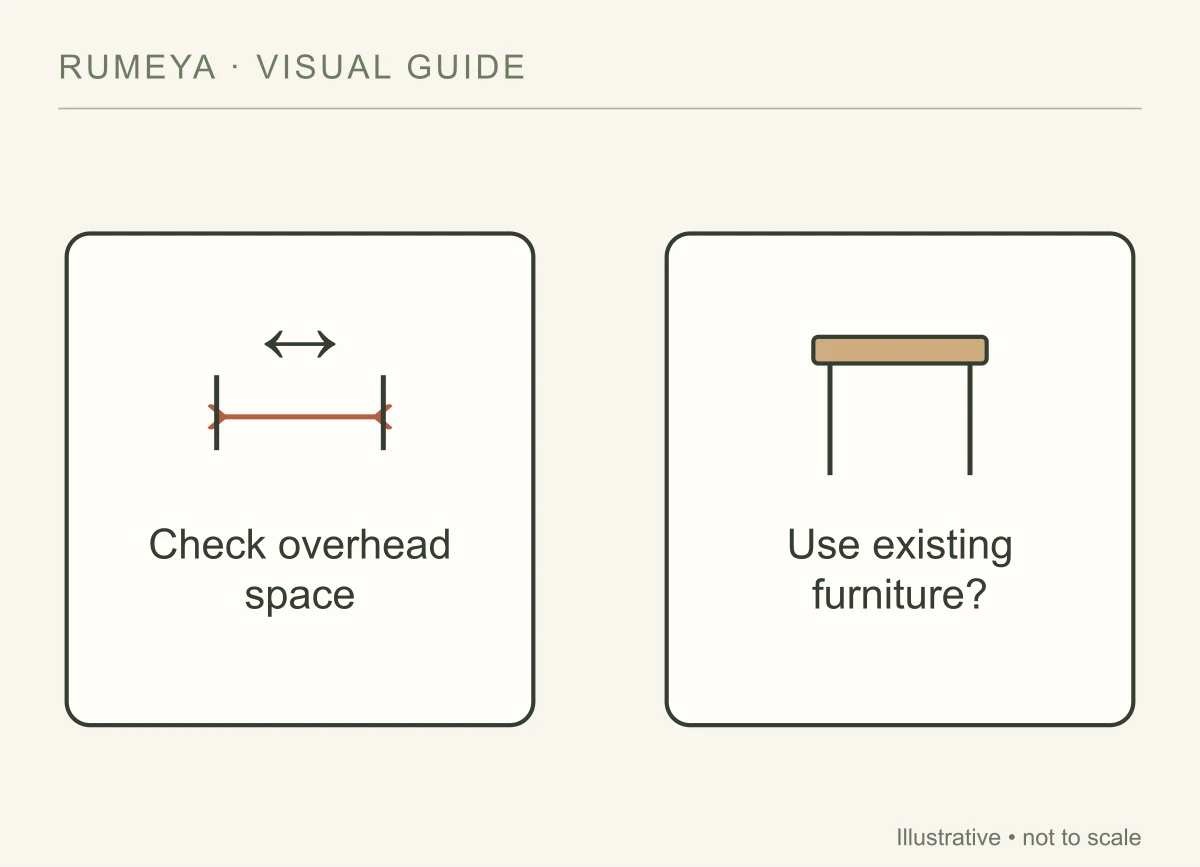
Can I put a coffee maker under an upper cabinet?
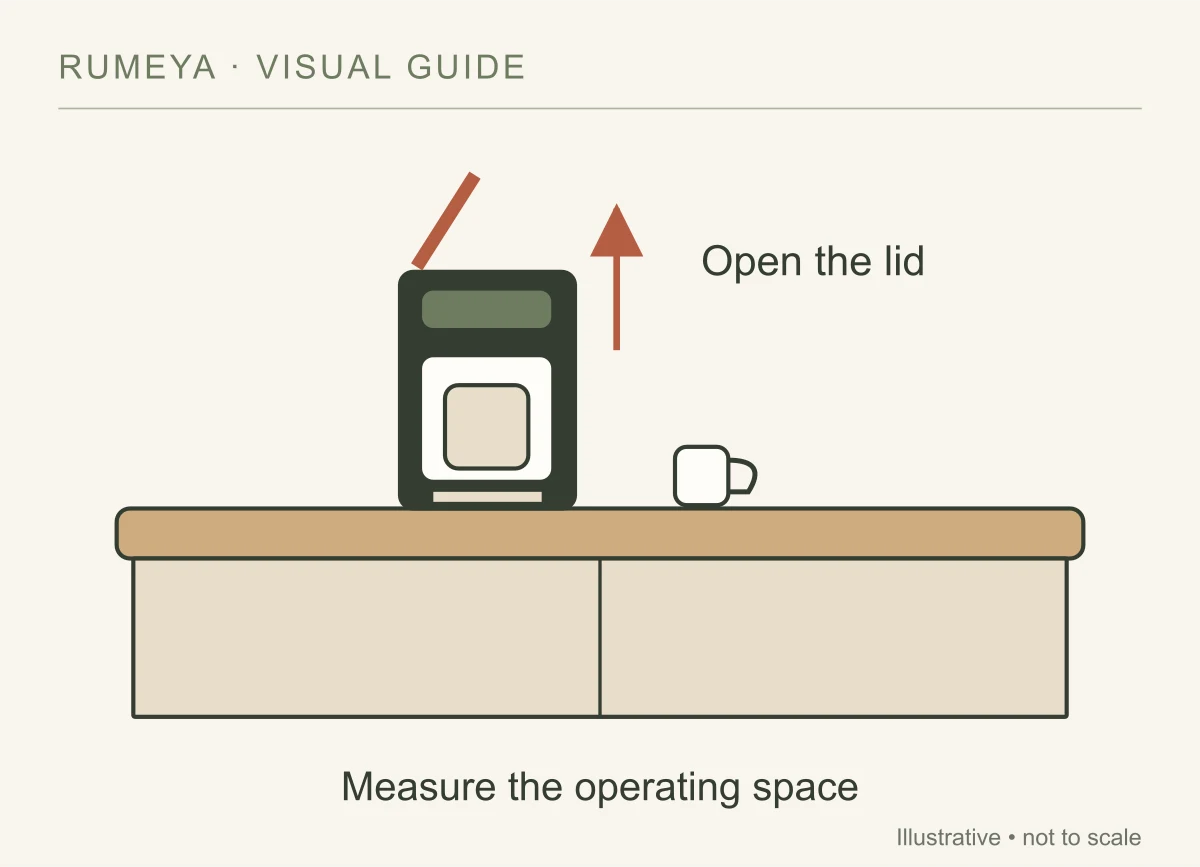
Possibly, but check the machine’s instructions and its full operating movements. A lid, removable water tank, heat, or steam may need space that is not obvious when the machine is off.
Does a coffee station need its own furniture?
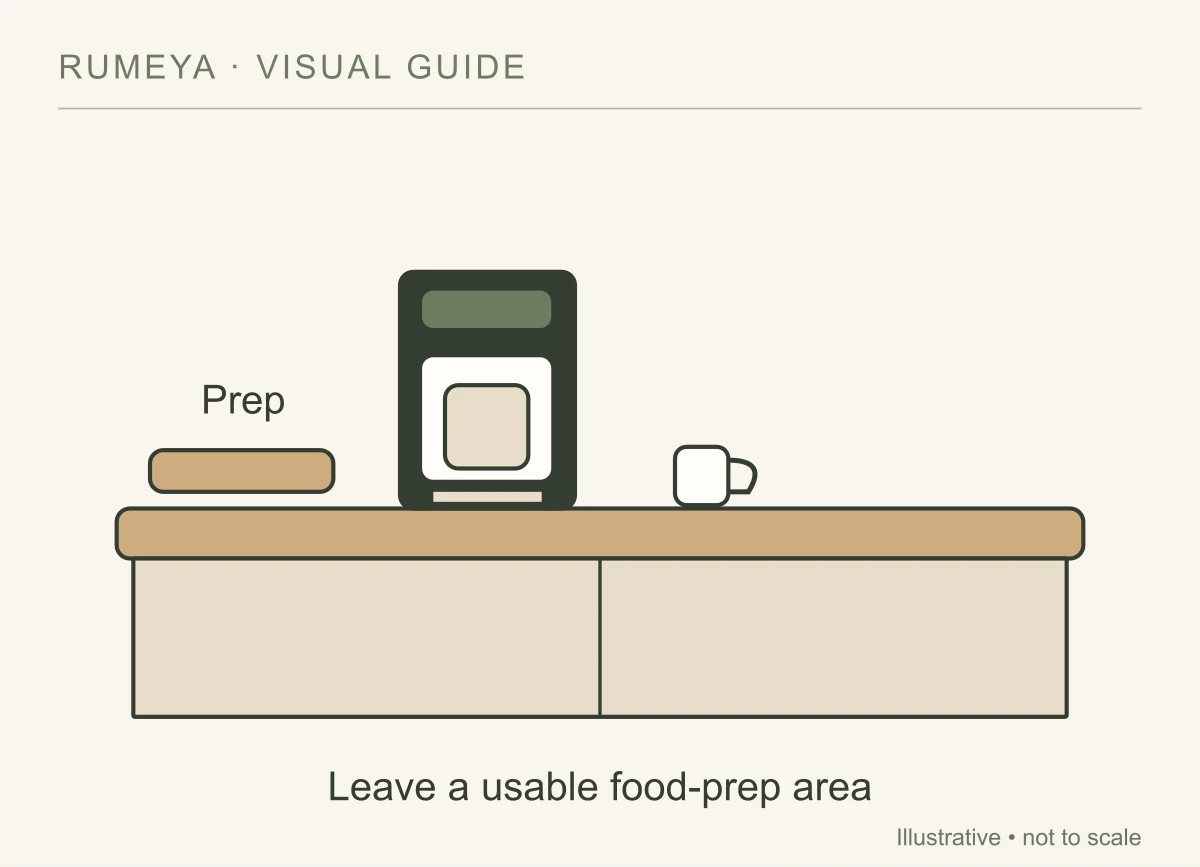
No. Rearranging one cabinet shelf and part of a drawer may do more than adding a cart. Dedicated furniture is useful only when you have a suitable location and it solves a problem your existing surfaces cannot.
Sources and further reading